SwiftUI is one of the most exciting releases from Apple during the WWDC in 2019 since the release of Swift in 2014.
If you’ve come across this post, it’s most likely because you want to know how to start using it on Mojave instead of updating to Catalina for it.
There’s good news and bad news.
Good news: You can use SwiftUI on Mojave using Xcode 11
Bad news: You won’t get the instant preview functionality of Xcode on Mojave.
Without further ado, here’s the steps to start using SwiftUI on a new project:
Steps for using SwiftUI
- Download Xcode 11 from https://developer.apple.com/download/ under the Applications tab
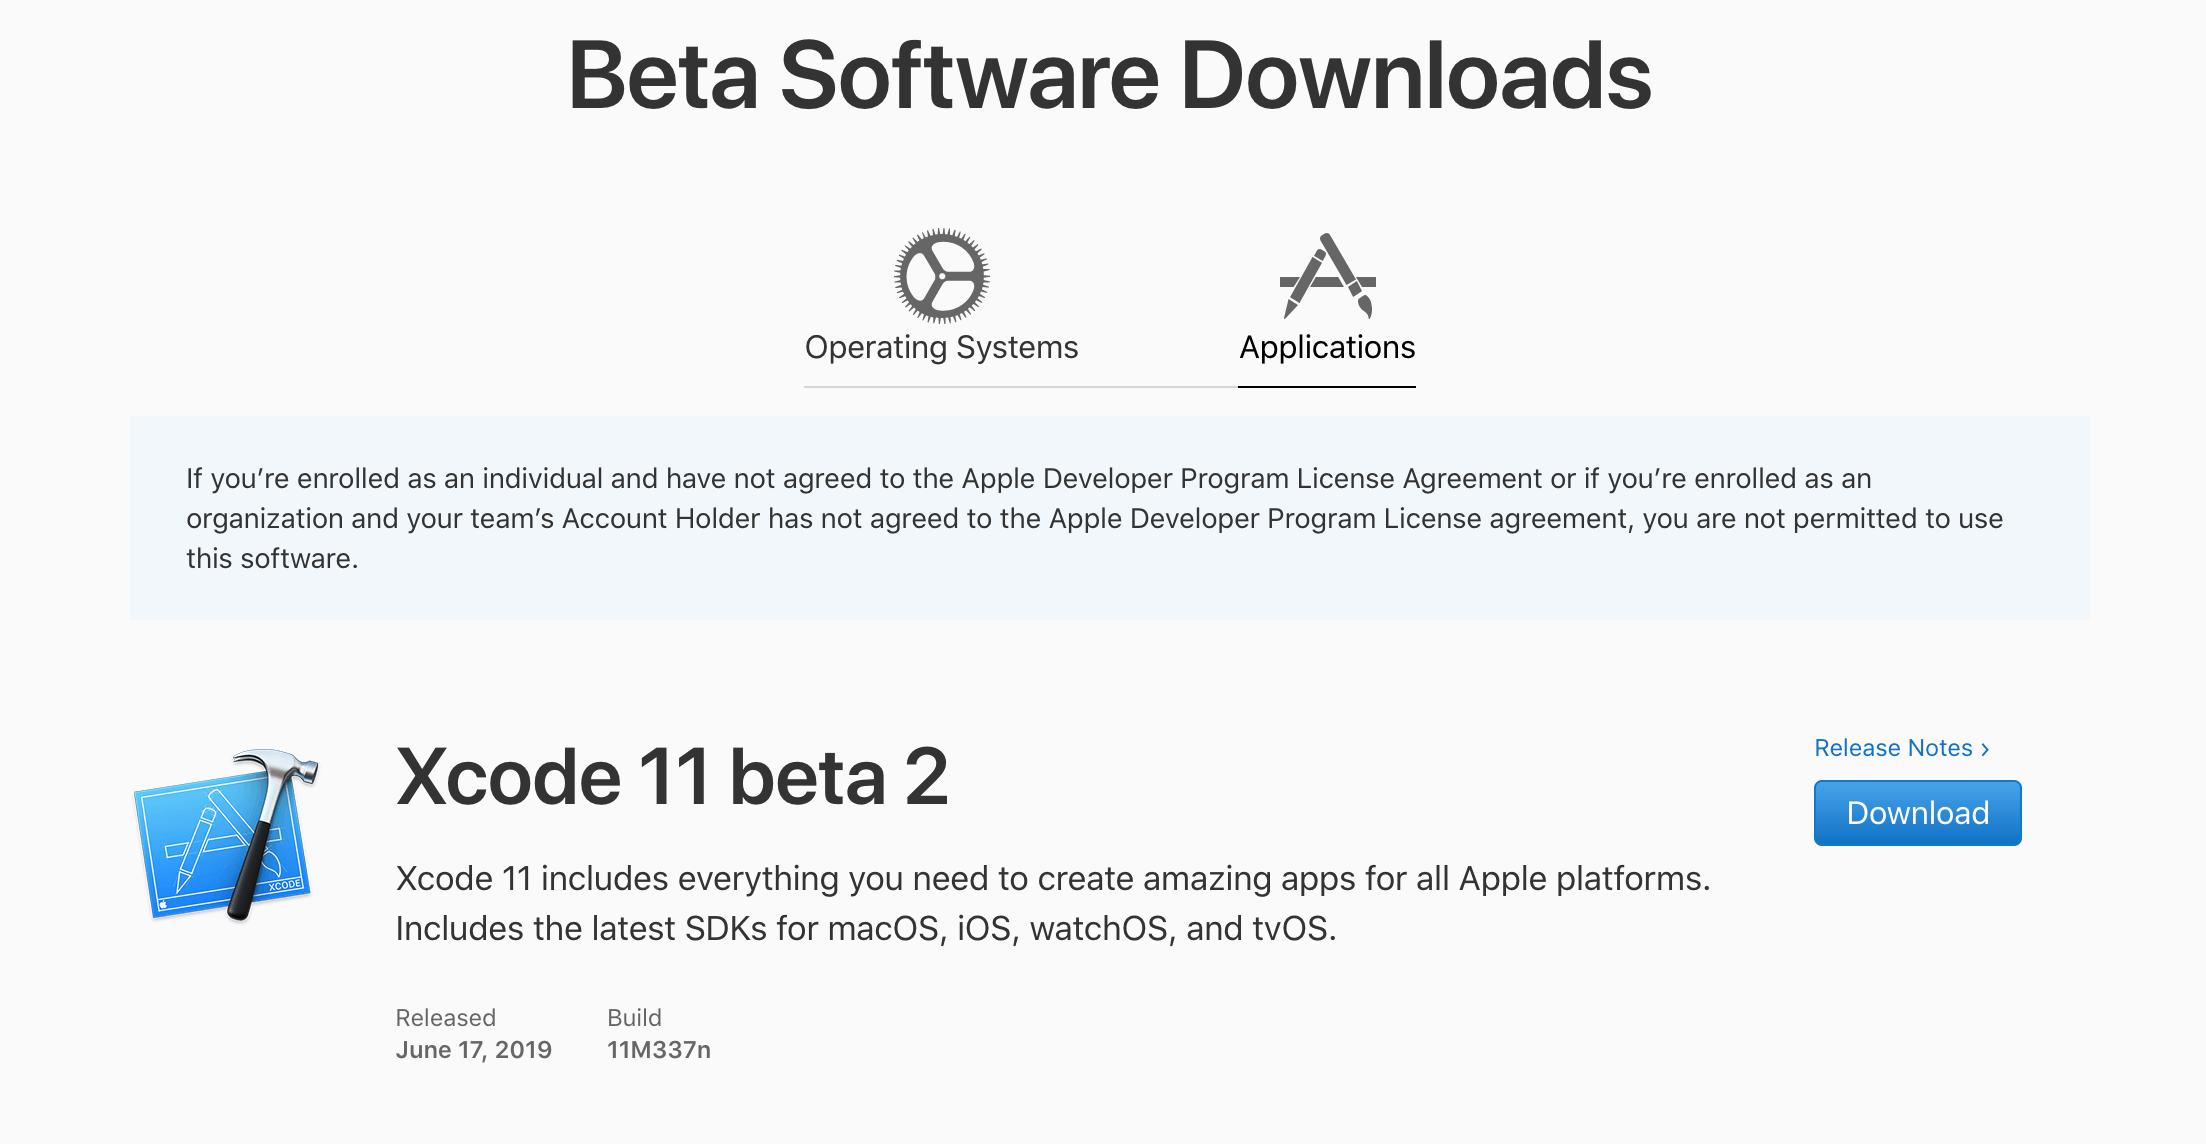
- Install Xcode 11 (You can have multiple Xcode versions installed at the same time)
- Open Xcode 11 and choose to create a new project
- Select your project template (ex. Single View App, Tabbed App, etc)
- On the page where you enter your project name, select the SwiftUI checkbox at the bottom
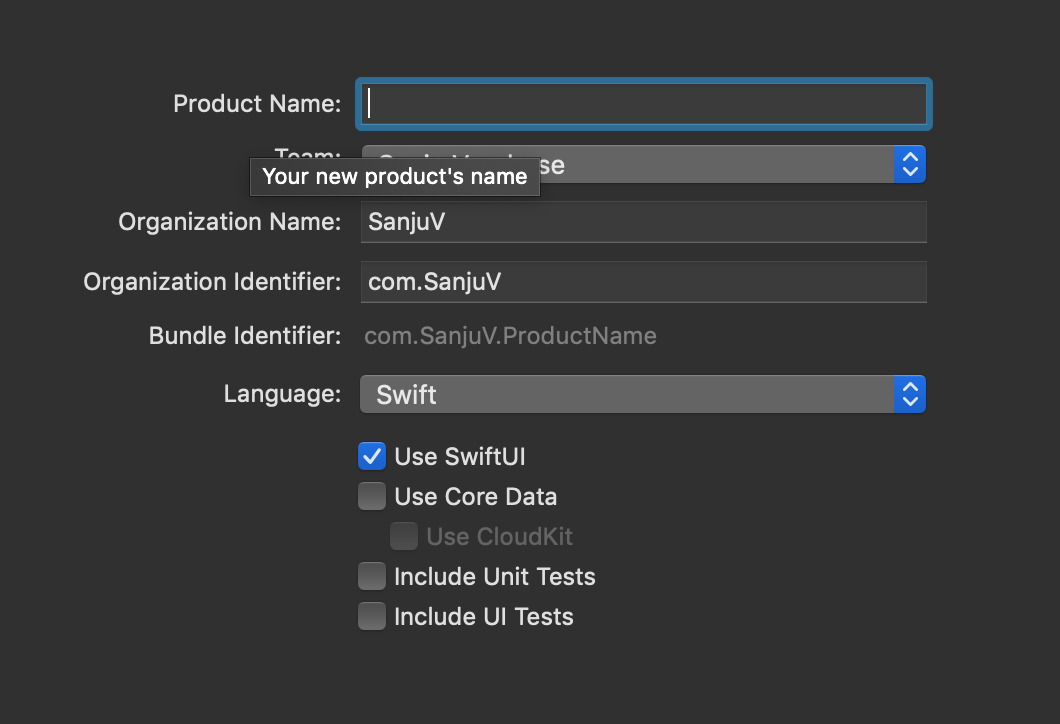
- This create the boilerplate template project with some SwiftUI code in it
If you run the project on the simulator, you’ll see the result of the SwiftUI code.
If you’re on Mojave, you’ll notice that Xcode 11 won’t have the Preview screen on the right side showing UI changes. For this functionality, you’ll have to update the OS to be on Catalina. So on Mojave, you’ll just have to build and run the project as you’ve been doing so far to see the UI.